


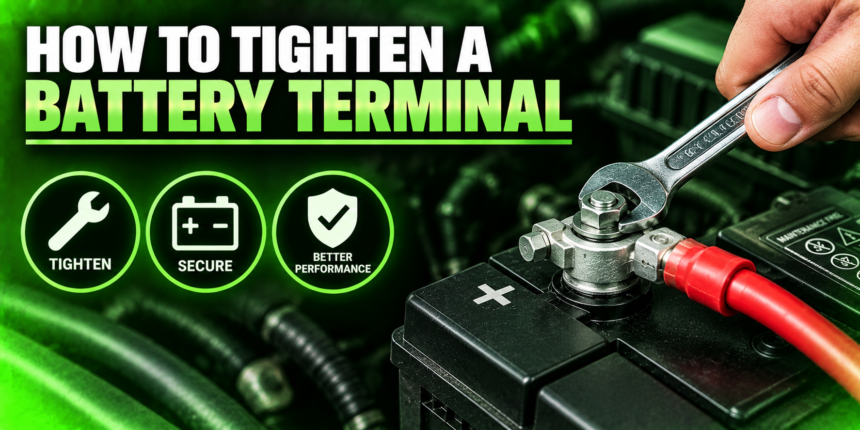
To tighten a battery terminal, disconnect the negative cable first, seat the clamp fully on the clean post, then tighten the nut with a wrench until the clamp will not move when you wiggle it by hand. That is the whole job for most cars, and it takes about ten minutes. The safety order and the right amount of force are what keep it from going wrong, so here is how to do it properly, plus what to do when a clamp just spins on the post.
Signs your battery terminal is loose
A loose terminal breaks the path between the battery and the rest of the car, so the symptoms look electrical even though the fix is mechanical. Watch for these:
- Hard or slow starting. The starter needs a lot of current, and a loose connection cannot deliver it.
- Flickering or dim lights. Headlights and dash lights that dip or flicker point to a shaky connection.
- Intermittent power loss. Electronics that cut out and come back, especially when you hit a bump, are a classic sign.
- A clamp you can move by hand. If you can rock the clamp on the post with your fingers, it is too loose. Never do this with the engine running.
- Heat or arc marks. Discoloration, a burnt smell, or heat at the terminal means the loose joint is arcing and needs attention right away.
Why it matters: A loose or corroded connection can overheat and arc, which damages the terminal and, in the worst case, is a fire risk. It is worth fixing early rather than living with it.
Tools you need
You probably have most of this already. A basic wrench does the core job; the rest makes it cleaner and safer.
| Tool | What it is for |
| Socket or open-end wrench (usually 10mm or 13mm) | Loosening and tightening the terminal nut or bolt |
| Wire brush or terminal cleaner | Removing corrosion from the post and inside the clamp |
| Gloves and eye protection | Guarding against battery acid and accidental sparks |
| Baking soda and water | Neutralizing and cleaning up acid residue |
| Anti-corrosion spray or grease | Protecting the joint after you finish |
A dedicated battery terminal wrench is a nice extra. Many are insulated or offset so the tool stays clear of other metal while you work, which lowers the chance of an accidental spark.
Safety first: the order that matters
Batteries hold a lot of stored energy, and a slipped wrench can cause a big spark or a short. One rule prevents almost all of that: always disconnect the negative terminal first, and reconnect it last.
The negative post is connected to the car’s metal body, which acts as ground. If your wrench touches the positive terminal and any bare metal on the car at the same time, you complete a circuit and get a sudden, intense spark. By removing the negative cable first, you break that path, so a stray tool on the positive side has nowhere to short to. Work with the engine off and the key out, and put on gloves and eye protection before you start.

If you see white or blue-green crust, that is corroded, mildly caustic residue, so avoid touching it with bare hands. It also helps to take off any metal rings or watches, since jewelry can bridge a live terminal just as easily as a wrench can. Keep a small box of baking soda within reach; it neutralizes acid fast if any spills, and a little sprinkled on a fizzing spill tells you at a glance where the residue is.
Step-by-step: tighten the terminal
Work through these in order. If your terminal is not corroded, you can skip the cleaning steps, but a quick clean never hurts.
- Turn everything off. Engine off, key out, and any accessories switched off so no current is flowing.
- Identify the terminals. Positive is marked with a plus sign and often a red cover; negative has a minus sign and is usually black.
- Loosen and remove the negative cable first. Turn the nut counterclockwise with your wrench, lift the clamp off the post, and tuck the cable aside so it cannot fall back onto the battery.
- Remove the positive cable. Do the same on the positive side, and keep that clamp clear of any metal.
- Clean the posts and clamps if needed. Use a wire brush or terminal cleaner to take corrosion off both the posts and the inside of the clamps, so you get flat, bright metal-to-metal contact. Neutralize acid residue with a paste of baking soda and water, then rinse and dry fully.
- Reconnect the positive cable and tighten. Seat the clamp all the way down on the post, then turn the nut clockwise until the clamp is snug and will not twist by hand.
- Reconnect the negative cable last and tighten. Same again on the negative side, to the same snug level.
- Check your work. Try to wiggle each cable. If either still moves, tighten a little more. A dab of anti-corrosion spray or grease over the finished joint helps keep it clean.
What if the terminal still will not tighten?
Sometimes you run the nut all the way down and the clamp still rocks on the post. This usually means the lead post has worn slightly undersized, or the clamp has spread over years of use. You have three good fixes, from quickest to most permanent.
Add a shim. A thin strip of lead sheet, or a purpose-made terminal shim, wraps around the post to add material so the clamp has something to bite on. Slip it around the post, reseat the clamp, and tighten. In a pinch, a short piece of stripped copper wire wound around the post does the same job.
Fit a new clamp. If the old clamp is corroded, cracked, or stretched, a replacement terminal clamp is cheap and gives you a fresh, correctly sized grip. Cut off the old one and attach the new clamp to the cable.
Use a lead-free adapter or bolt-on terminal. For a post that keeps loosening, a bolt-on replacement terminal grips more evenly and lasts longer. This is the most durable fix if you are tired of chasing the same problem.
Whatever you use, the important rule is that the shim or spacer never goes between the flat contact faces of the lug and the post. The main current path has to stay clean metal touching clean metal. For a deeper technical rundown of contact surfaces and torque, LiTime’s terminal guide is a useful reference.
How tight is tight enough?
This is where most people go wrong in one of two directions. Too loose and the connection arcs; too tight and you can crack the soft lead post or split the battery case.
The simple hand test works for most cars: the clamp should resist a firm wiggle but not need brute force. You are aiming for snug, not gorilla-tight. If your battery lists a torque figure, a torque wrench is the accurate way to hit it, and it is worth re-checking the nut after the first drive or two, because heat and vibration let fresh hardware settle and loosen slightly.
Many top-post car terminals land somewhere around 4 to 8 newton-metres, but the number printed on or near your battery always wins over a general figure. If you do not own a torque wrench, err toward the lighter side of snug; a slightly under-torqued clamp you re-check next week is safer than a cracked post you cannot undo.
Watch out: Overtightening can deform the post, strip the bolt threads, or crack the casing. If the nut suddenly turns easily after being tight, stop, you may have stripped a thread.
When to replace instead of tighten
Tightening only works when the parts are sound. Replace rather than fight it if you see any of these: a clamp that is badly corroded or cracked, a battery post that is melted, wobbling, or heat-damaged, or a cable with green corrosion creeping up under the insulation. A post that heats up or shows arc marks even after a clean, tight connection is telling you the joint is failing internally.
In those cases a new clamp, a new cable end, or sometimes a new battery is the real fix, and it is far cheaper than being stranded. A good habit is to check the terminals whenever you open the hood for oil or coolant, so a slightly loose nut gets caught during a two-minute look instead of on a cold morning when the car will not start.
Conclusion
Tightening a battery terminal is a ten-minute job: disconnect the negative cable first, clean the post if needed, seat the clamp, and tighten the nut until it will not move by hand, reconnecting negative last. Aim for snug, not crushing. If the clamp still spins, add a shim or fit a new clamp rather than forcing it. Do that and you get a solid connection that starts reliably and stays safe.
Frequently asked questions
Which battery terminal do I disconnect first?
Always the negative one first, and reconnect it last. The negative post is grounded to the car body, so removing it first prevents your tools from causing a short circuit.
What size wrench do I need for a battery terminal?
Usually a 10mm or 13mm socket or open-end wrench fits the terminal nut. An insulated battery terminal wrench is a safer option if you have one.
Why won’t my battery terminal tighten?
The post is likely worn undersized or the clamp has spread. Wrap a terminal shim or a bit of copper wire around the post to add material, or fit a new clamp for a lasting fix.
Can you overtighten a battery terminal?
Yes. Too much force can deform the lead post, strip the bolt threads, or crack the battery case. Tighten only until the clamp resists a firm hand wiggle.
Should I put grease on battery terminals?
A light coat of anti-corrosion spray or dielectric grease over the finished joint helps prevent corrosion. Keep it off the flat contact faces, which need clean metal-to-metal contact.
Related Articles
How to Reset an Electric Bike Battery Safely?
Is a Car Battery AC or DC Voltage? DC, and Here Is Why
How to Make an Electromagnet’s Battery Stronger?
How to Reset an Electric Bike Battery Safely?